We now have some of our Floor Sanding Video's on our new You Tube Channel take a look and let us know what you think. More Video's will be added in the near future.
Gronant Institute Wood Block Floor Sanding Restoration
In June 2012 we completed a quite large scale floor sanding project at the Gronant Institute, Flintshire, North Wales where we totally transformed and restored a large Pitch Pine Parquet Wood Block floor that was looking very much the worst for wear and was desperately in need of a complete restoration to the main Hall area in the building.
The material we were working on was original Pitch Pine Parquet Wood Blocks, which had not been restored for many decades, we were also contracted to renovate the stage area, the boards on the stage were wide pitch pine planks, not dissimilar to scaffolding boards in appearance, again the boards on the stage were in a quite poor state and would need a lot of work to bring them back into good condition.
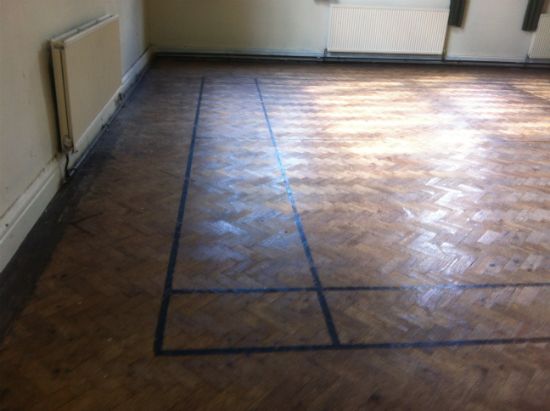
As you can see from the pictures below, the main Hall area of the Institute [150m2] had a Badminton court marked out, this was to be re-marked in white after the sanding part of the operations were completed. The pitch pine parquet block floor was in a pretty poor condition overall and needed a large amount of sanding works to bring the surface back into the high quality condition in which we left it.
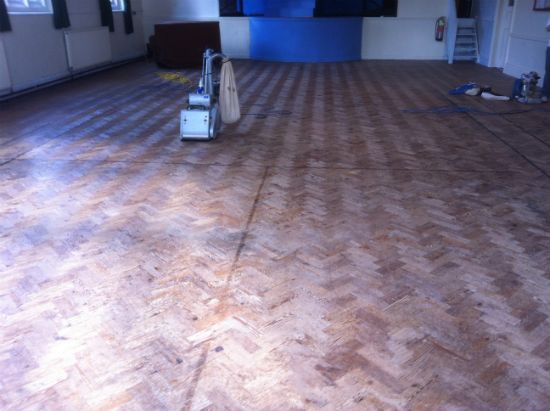
15 large bin bags full of wood dust bear testament to the amount of material we removed from the floor, but as the blocks were nearly 30mm in thickness, taking 2 mm off overall doesn't make too much difference, We had to make two passes over the whole area with 24 grit floor sanding belts to remove the worst of the surface, which was pock-marked with thousands of high heel marks, we then worked our way up through the sanding grits to leave the surface beautifully smooth in readiness for the lacquer system we were to apply to the floor.
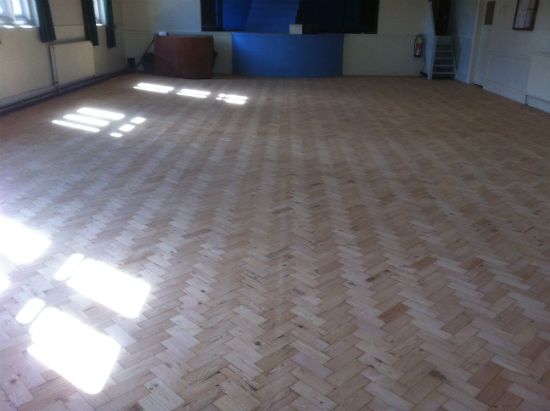
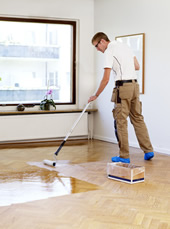
For the first coat on this parquet floor we used Junckers Baseprime to give a lovely warm and natural colourization to the timber and also to protect the subsequent coats of lacquer from any possible cross contamination. The high quality lacquer system we used for this project was 1 x coat of Junckers Baseprime followed by 3 x coats of Junckers HP Sport, [HP stands for High Performance] this 2 part lacquer is most definitely top of the range.
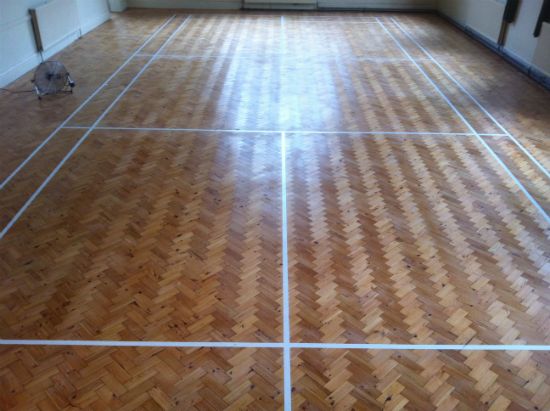
As mentioned earlier in the article, a Badminton court was to be re-marked back onto the surface of the hall, for this we had our friends at Renovate Contracts come in and undertake the line marking works for us, as the pictures show, the badminton court looked superb with the crisp white lines set against the restored golden honey coloured pitch pine parquet, our clients were absolutely delighted with the finished Main Hall floor.
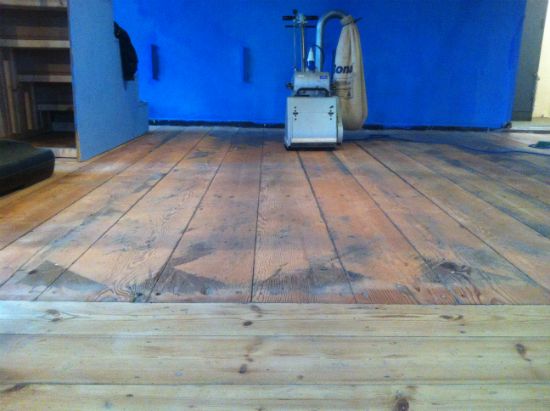
After the works on the main Hall floor were completed we then moved onto the Stage area, which was 40m2 in size, Wide board pitch pine floorboards in material which was in a pretty poor condition. This area needed a lot of work, but thankfully sanded off reasonably well and looked stunning when fully completed.
Gronant Institute Picture 1First picture showing the Pitch Pine Parquet Block Floor Main Hall area before the flooring restoration started.
Gronant Institute Picture 2showing a different angle of the main hall area just before the parquet floor was restored.
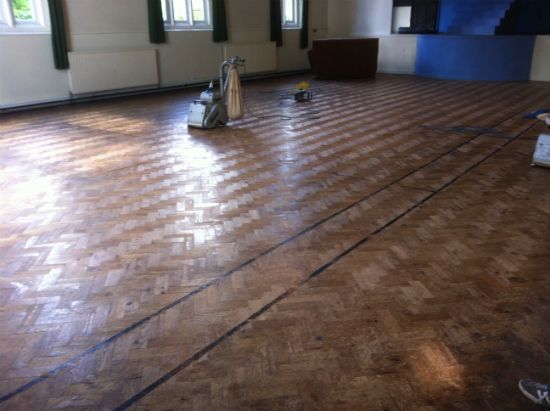
Gronant Institute Picture 3Main Hall, pitch pine wood block flooring just before we started wood floor sanding restoration.
Gronant Institute Picture 4This picture shows the floor from the same perspective as the previous picture but after the first 'rough cut' of the sanding process was done.
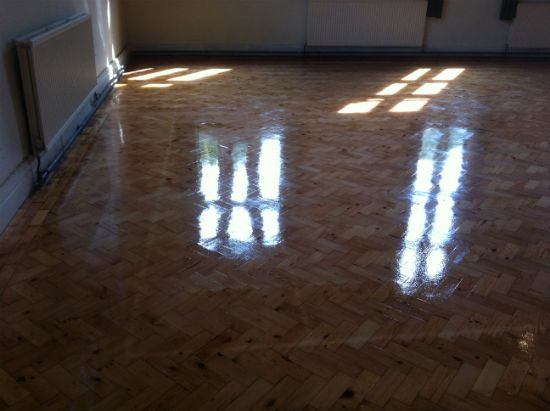
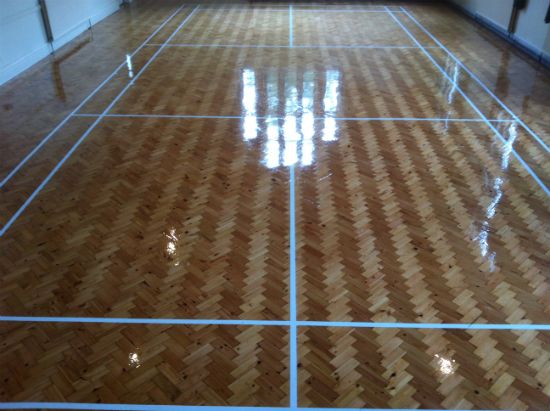
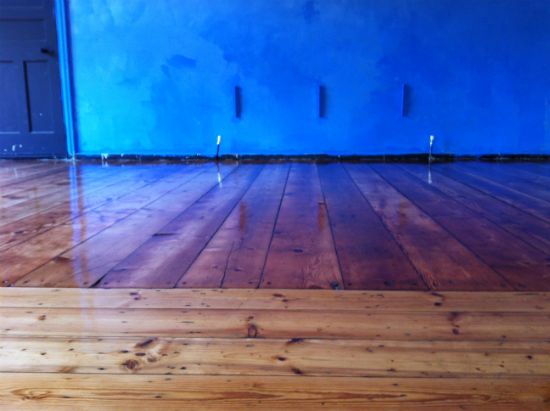
Gronant Institute Picture 5Showing the pitch pine parquet floor after the second coat of lacquer has been applied, just prior to the badminton court being line marked.
Gronant Institute Picture 6Another shot of the area just prior to the line marking of the badminton court.
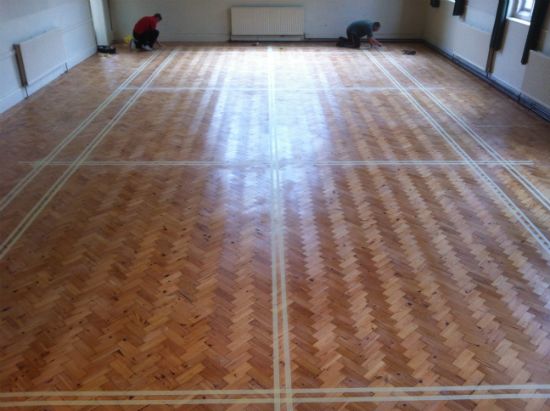
Gronant Institute Picture 7Showing the badminton court area being marked out with masking tape, these guys were quick...
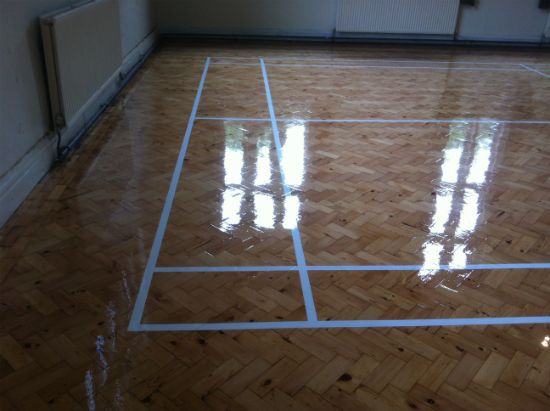
Gronant Institute Picture 8The line marking is done, just waiting for the paint to dry properly before we apply 2 more coats of lacquer.
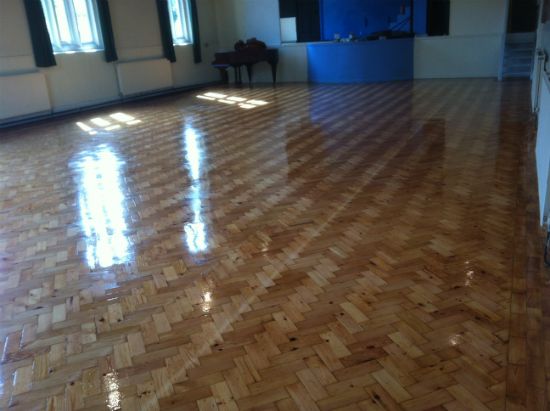
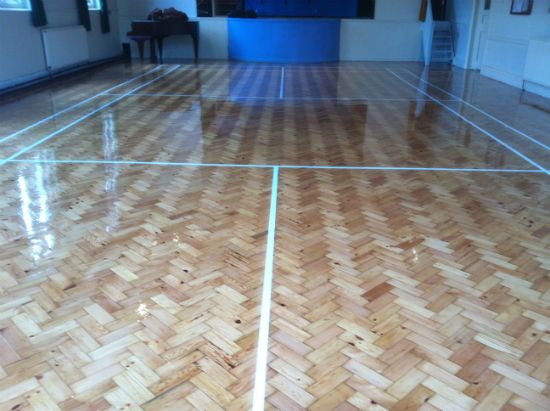
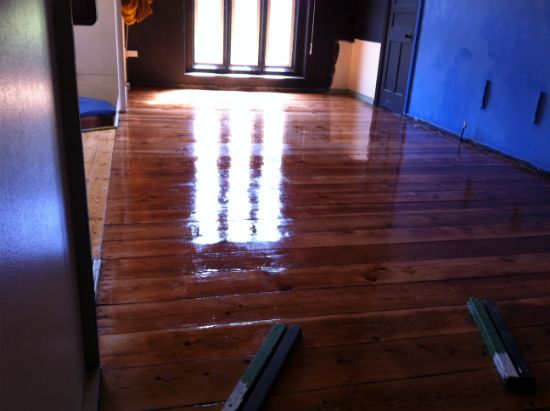
Gronant Institute Picture 9 Showing the pitch pine parquet block fully restored view of the main hall from the stage just after the last coat of lacquer has been applied...doesn't it look good.
Gronant Institute Picture 10The last coat of lacquer applied as I took this picture, showing how good this pitch pine parquet wood block floor restoration looked, including the re-marked Badminton Court in its finished condition.
Gronant Institute Picture 11Go back to picture 1 to see how good this floor now looks...the difference is quite startling.
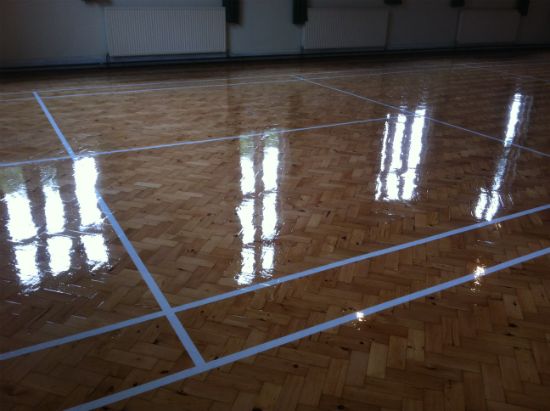
Gronant Institute Picture 12The last picture of the hall showing a slightly different perspective...how good does that look.
Gronant Institute Picture 13Just started sanding off the quite rough Stage area.
Gronant Institute Picture 14Stage area different angle.
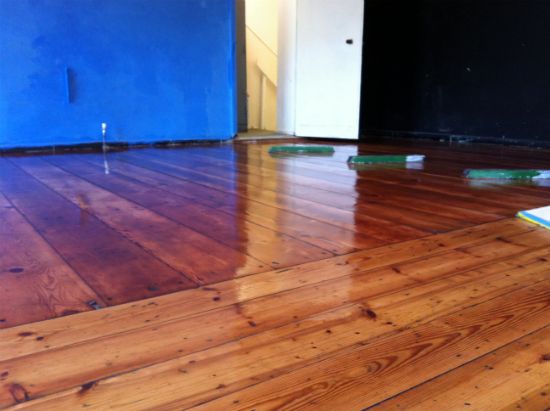
Gronant Institute Picture 15Taken after the last coat of lacquer had been applied...
Gronant Institute Picture 16How good does that look ?? quite a difference eh.
Gronant Institute Picture 17Last picture showing the whole Stage area.
The above picture rotator shows some of the pictures we took during the floor sanding and re-finishing process at Gronant Institute, the pictures automatically rotate every 6 seconds, each picture has a brief description at the top of the picture...you can pause the pictures simply by moving the mouse cursor anywhere within the picture...You can then scroll forwards or backwards through the pictures at your leisure.
The video clip below shows the condition of the floor before we started sanding
The clip below shows the finished project in all its glory...How good does this look
*NB*Woodfloor-Renovations would like to thank Dave & Stewart from the Institute for their help and valued assistance on this project.
The opinions and views expressed in this article are those of Woodfloor-Renovations through our experiences with the numerous Floor Sanding & Sealing projects that we have undertaken.
Woodfloor-Renovations is arecommended company, you can find us on Bona's Find your contractor page on their website
The links below are Product Technical information sheets from the Manufacturers and should be of use. They are all PDF Files and clicking on the links will open your computers PDF reading program.